What is GIMP? It stands for GNU Image Manipulation Program. In many ways, it is similar to Adobe Photoshop and in other ways it's more like Adobe Image Ready. I wouldn't know if I could have worked on this project without it. At first, I didn't know how much I would be using this application. I only had it to have an alternative means to make my a gif from my netbook. I knew it was something Linux users had at my previous job. Before using it for this project, I was just learning how to use it to make banners with it. Since then, I have found it much more intuitive for animating and have been making elements for the slides used in some of the scenes. For those who know GIMP, this will be nothing new. I just wanted to share my progress on this project.

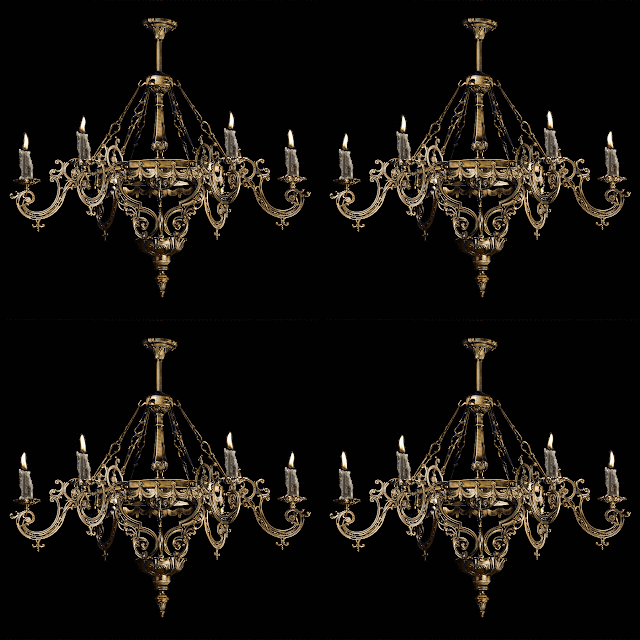
Starting with the flames for this chandelier, I began to understand that any layers in GIMP can be used animated. Cool! To make the candle flicker, I cut the image of a flame and applied the Animation Rippling filter. It saved me the trouble of animating it myself. I did have to ask my colleagues how to make it move. That's gave me the idea how it should look like.
 |
| 4 frames, delayed on each candle for variation |
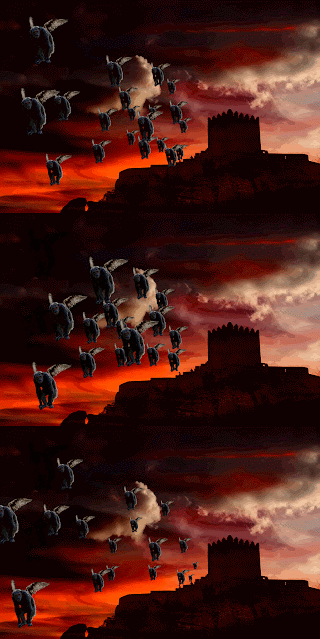
How am I going to make flying monkeys with nothing but a two-dimensional image of a chimp and pasted on wings? Nothing seemed right. I couldn't push it across the Keynote slide like I did for the witch silhouette. That would be hard to do for more than one monkey. I had the idea to make a group of monkeys, but still had trouble with timing the movement. I made three layers of monkeys to use with this background. They were going to be small so you couldn't see the details too closely. I started with what ended up being the middle layer, 6 in the distant, 6 more a little closer to frame, and 4 more in front. For the second frame I scaled down and placed them where they would be in the previous frame. The third frame was the opposite. The first frame became the second frame and I had monkeys that seem to fly from the castle here.
 |
| 3 frames with monkey variation |
Something else I noticed with the monkeys as with the chandelier. To reduce the file size, there is an optimize filter for gif. What this does is to combined the textures. Once this is done, you can't really edit the images again. The colours are indexed. To other applications the images still appear to be full frames.

I did a test already with transparent layers so I knew making a flaming mask was possible. I just didn't know what the mask would look like at the time. This was a render. As you can see, there is very little definition, I wasn't sure how the Colour to Alpha would work for it. It looked solid, so I knew that changing the brightness and contrast would make it a little bit more transparent. I wanted to deformed the eyes, but I didn't know which tools in GIMP to make that happen. It will also have reduced opacity in Keynote so the video flames will be seen past it as well. I still need this gif to be approved for production. Looking forward, I will be exploring the drawing tools for my needs.


