


Showing posts with label animation. Show all posts
Showing posts with label animation. Show all posts
Tuesday, June 26, 2018
GIF: Burn-in Animation

Friday, March 22, 2013
Text to Path Animation

Sunday, February 10, 2013
Happy Chinese New Year GIF

2) Animate the banner within the banner.
3) Animate the text on the smaller banner.
4) Combine elements.
Wednesday, January 23, 2013
Walk Cycle in GIMP

It is almost Chinese New Year. I had an idea for animating a character. The one that came to mind was the one for person. It even looks like a man. What would I need to make it move though? I drew the 2 strokes first. But that is still a static interpretation.

The Paths Tool in GIMP was something I had not tried yet. It lets me draw the path and paint the strokes. In time, I almost matched the shape of the strokes I made from scratch.

This gave me a skeleton to work with. It was a something that could be manipulated as desired.

Use the Stroke Path dialog box to choose a brush type to paint the strokes. I chose Ink. Make sure beforehand the brush size is what you want.

Add a new layer and change the shape of the path. Deform it. And then I created the radical symbol for person.

Lastly, after repeating the steps to deform the strokes, the walk cycle is complete.
Wednesday, December 26, 2012
More Text GIFs
Two things I learned since yesterday. The GIMP filter I used was Animation > Waves, not Animation > Rippling. It just looked like water ripples to me.
 The other thing, which was helpful in combining the elements, was the Animation > Blend filter. At least two layers and the background are needed. There doesn't seem to be a limit to that number. Running the filter will output the required number of frames in the transitions.
 The banner has been redone in the same way.


Tuesday, December 25, 2012
Get Ready for Spring


Next time, I will be attempting to add multiple ripples to an image.
Wednesday, July 4, 2012
Dog Walk Cycle
 |
| Dog Walk Cycle via Stop Motion Animation |
Monday, January 23, 2012
Good Fortune to All

Sunday, January 22, 2012
Happy Lunar New Year!
 |
| Graduating gold fill on an auspicious red background. |
Then I decided to use the Spinning Globe Animation filter in GIMP to create a gif. NEAT! I will try this again with a smaller character.

Tuesday, December 13, 2011
Animated Greetings

To my internet friends.
Happy Holidays!
Friday, December 2, 2011
Project List: December 2, 2011
I was at a gathering with the other novelists from NaNoWriMo last night celebrating the end of November. It was incredibly inspiring, to hear about all the different experiences so far. It gave me an idea to help my story along, because the writing isn't over until the next cycle begins. If I had known that all I needed was to be with other people to get swept up in creativity, I would have went out more often. Oh well. I have managed to come up with something that kept up most of the night. Hm, I should write that.
After the last party and Christmas stuff is done, I will carry on with more projects.

|
| A photo of the Tie Fighter and Cylon Raider next? |
- Paper Model: U.S.S. Voyager. I have new ink now, I should be able to print out that model. With this netbook, I cannot check the ink volume anymore.
- Paper Model: Titanic. I mention that I would that before. Suffice to say there was too much going on for that to happen.
- Paper Model: Imperial Stormtrooper. I have the head cut out. I am wondering how much to scale that up by to pose next to the Cylon helmet.
- Writing: The Living Bride (redux).
- Writing: FanFiction - The misadventures of Peter Bishop in Sam Weiss' Bedrock.
- Animation: I have to make my annual seasons greeting, so it is the animated GIF. They are different every year.
Monday, September 5, 2011
Set Design: Animating the Static Image
Well, I've been putting off working on the project for a few weeks. Now after a break, I am back at it. I thought I discuss how to take a perfectly static image and turn it into animation. Surprisingly no two scenes are made using the same method.
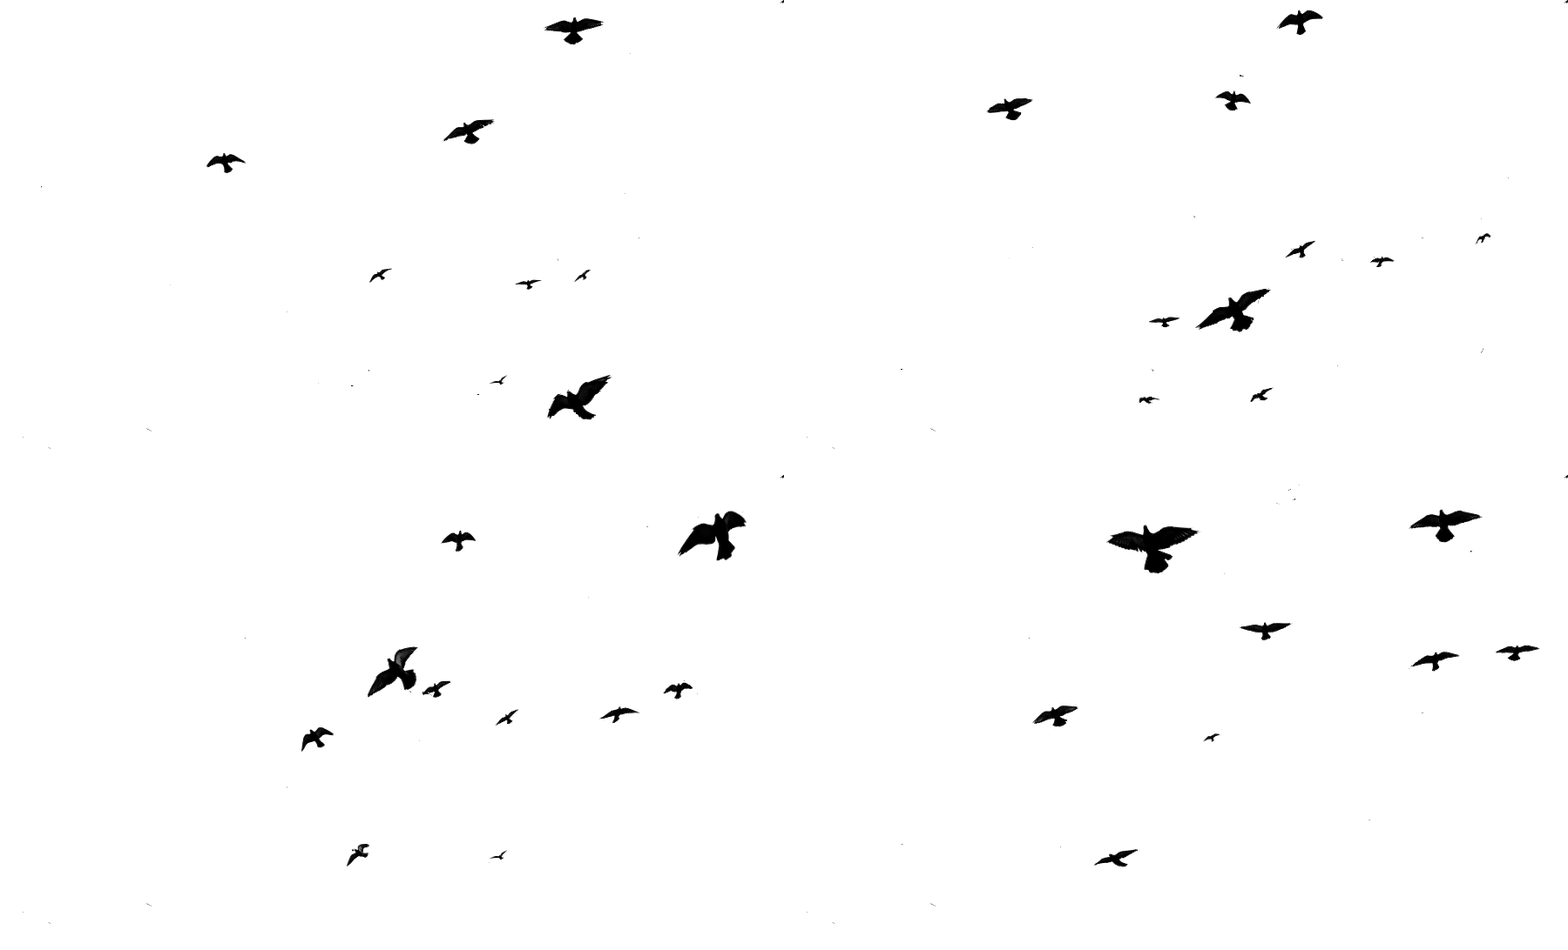
The first example I want to illustrate is the crows where Dorothy meet Scarecrow. For this scene, I needed to have crows flying in the distance. I chose an image that had a number of birds in flight. For some of them, it looked to me like flight paths.
 I cut out silhouettes of some of the birds and created four animating frames in GIMP to make the bird layers. Open the image in a new Window to see what I mean. The final animation includes the cornfield background.

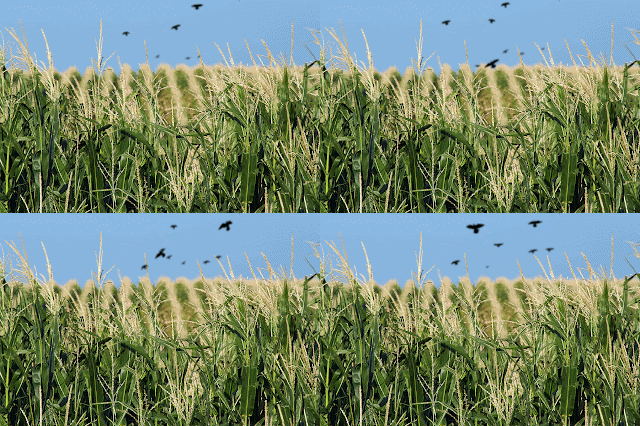 Every production tries to be different. We are adding Canada geese to our cyclone sequence. There was enough variety in the birds in this image to make it look like one bird was flying. I was able to cycle the frame for each position.
 Because the background is also animating, I want to scale the birds into place and add one to blow off screen. Open the image below to see the animation. I can't wait to see how it will look in Keynote.

The first example I want to illustrate is the crows where Dorothy meet Scarecrow. For this scene, I needed to have crows flying in the distance. I chose an image that had a number of birds in flight. For some of them, it looked to me like flight paths.



Sunday, July 24, 2011
Set Design: Wizard of Oz Scenes Made in GIMP
What is GIMP? It stands for GNU Image Manipulation Program. In many ways, it is similar to Adobe Photoshop and in other ways it's more like Adobe Image Ready. I wouldn't know if I could have worked on this project without it. At first, I didn't know how much I would be using this application. I only had it to have an alternative means to make my a gif from my netbook. I knew it was something Linux users had at my previous job. Before using it for this project, I was just learning how to use it to make banners with it. Since then, I have found it much more intuitive for animating and have been making elements for the slides used in some of the scenes. For those who know GIMP, this will be nothing new. I just wanted to share my progress on this project.
 Starting with the flames for this chandelier, I began to understand that any layers in GIMP can be used animated. Cool! To make the candle flicker, I cut the image of a flame and applied the Animation Rippling filter. It saved me the trouble of animating it myself. I did have to ask my colleagues how to make it move. That's gave me the idea how it should look like.
How am I going to make flying monkeys with nothing but a two-dimensional image of a chimp and pasted on wings? Nothing seemed right. I couldn't push it across the Keynote slide like I did for the witch silhouette. That would be hard to do for more than one monkey. I had the idea to make a group of monkeys, but still had trouble with timing the movement. I made three layers of monkeys to use with this background. They were going to be small so you couldn't see the details too closely. I started with what ended up being the middle layer, 6 in the distant, 6 more a little closer to frame, and 4 more in front. For the second frame I scaled down and placed them where they would be in the previous frame. The third frame was the opposite. The first frame became the second frame and I had monkeys that seem to fly from the castle here.
Something else I noticed with the monkeys as with the chandelier. To reduce the file size, there is an optimize filter for gif. What this does is to combined the textures. Once this is done, you can't really edit the images again. The colours are indexed. To other applications the images still appear to be full frames.

I did a test already with transparent layers so I knew making a flaming mask was possible. I just didn't know what the mask would look like at the time. This was a render. As you can see, there is very little definition, I wasn't sure how the Colour to Alpha would work for it. It looked solid, so I knew that changing the brightness and contrast would make it a little bit more transparent. I wanted to deformed the eyes, but I didn't know which tools in GIMP to make that happen. It will also have reduced opacity in Keynote so the video flames will be seen past it as well. I still need this gif to be approved for production. Looking forward, I will be exploring the drawing tools for my needs.


 |
| 4 frames, delayed on each candle for variation |
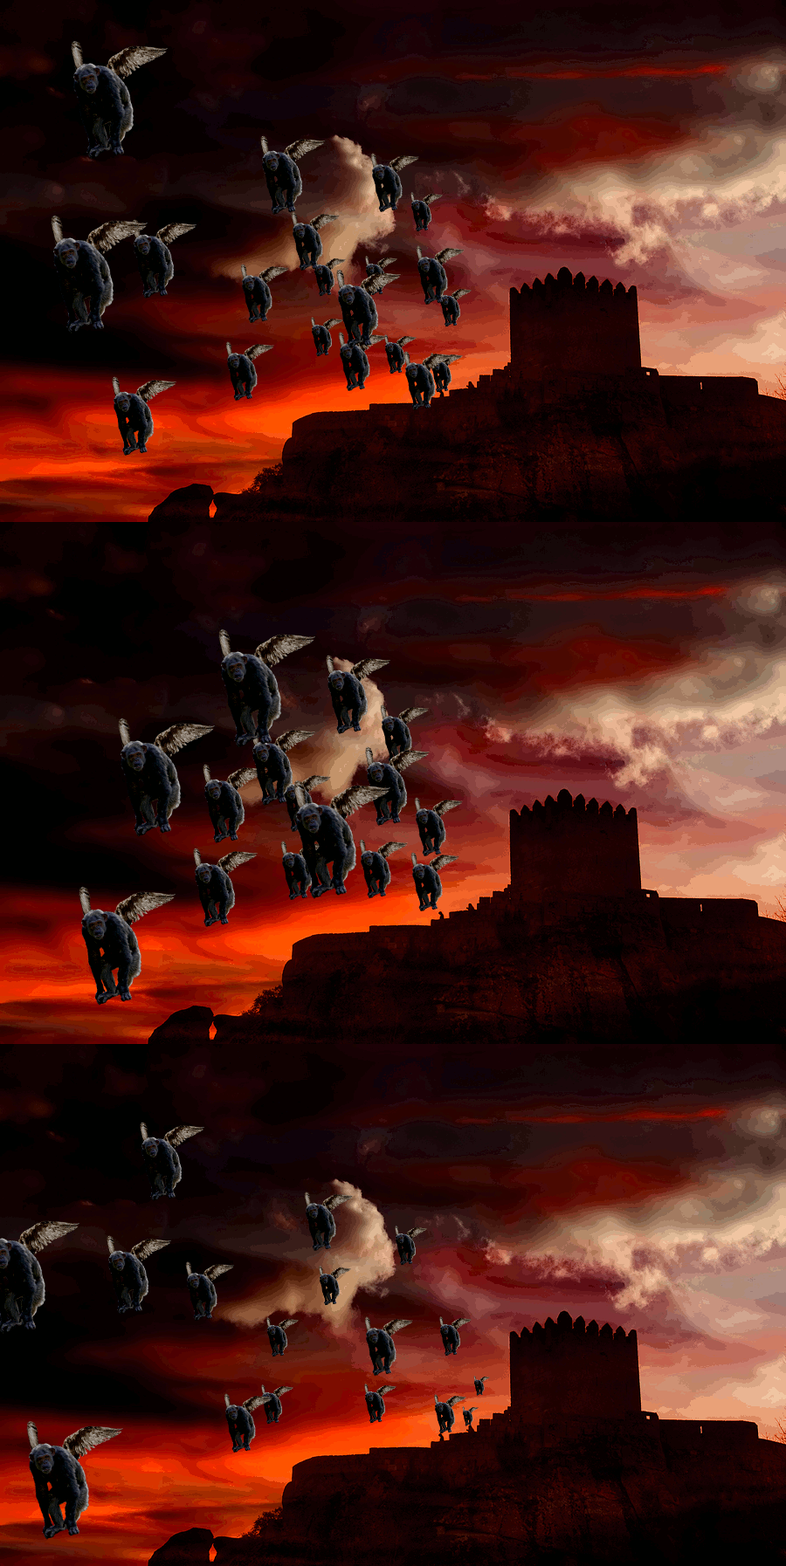 |
| 3 frames with monkey variation |

I did a test already with transparent layers so I knew making a flaming mask was possible. I just didn't know what the mask would look like at the time. This was a render. As you can see, there is very little definition, I wasn't sure how the Colour to Alpha would work for it. It looked solid, so I knew that changing the brightness and contrast would make it a little bit more transparent. I wanted to deformed the eyes, but I didn't know which tools in GIMP to make that happen. It will also have reduced opacity in Keynote so the video flames will be seen past it as well. I still need this gif to be approved for production. Looking forward, I will be exploring the drawing tools for my needs.

Saturday, May 14, 2011
Set Design: Cyclone Animation

I have choices of how to animate the inside of the cyclone. (1) An animated filter on GIMP lets me use a wave filter to create frames for an animated gif. (2) The same image rotated to create a animation of spinning clouds. Will have to see which will work with Keynote best.
Sunday, January 23, 2011
Wednesday, December 22, 2010
Santa Claus sends his best wishes
Here is another holiday theme animated gif. Still using Adobe Image Ready to make the gif. I started with the layers I wanted to use before creating the frames. This will be my e-mail card this year. Enjoy!
 |
| Seasons Greeting |
Subscribe to:
Posts (Atom)
This is me...

- Xindilini
- My aspiration is to be better at telling stories. I only need a pencil and paper.